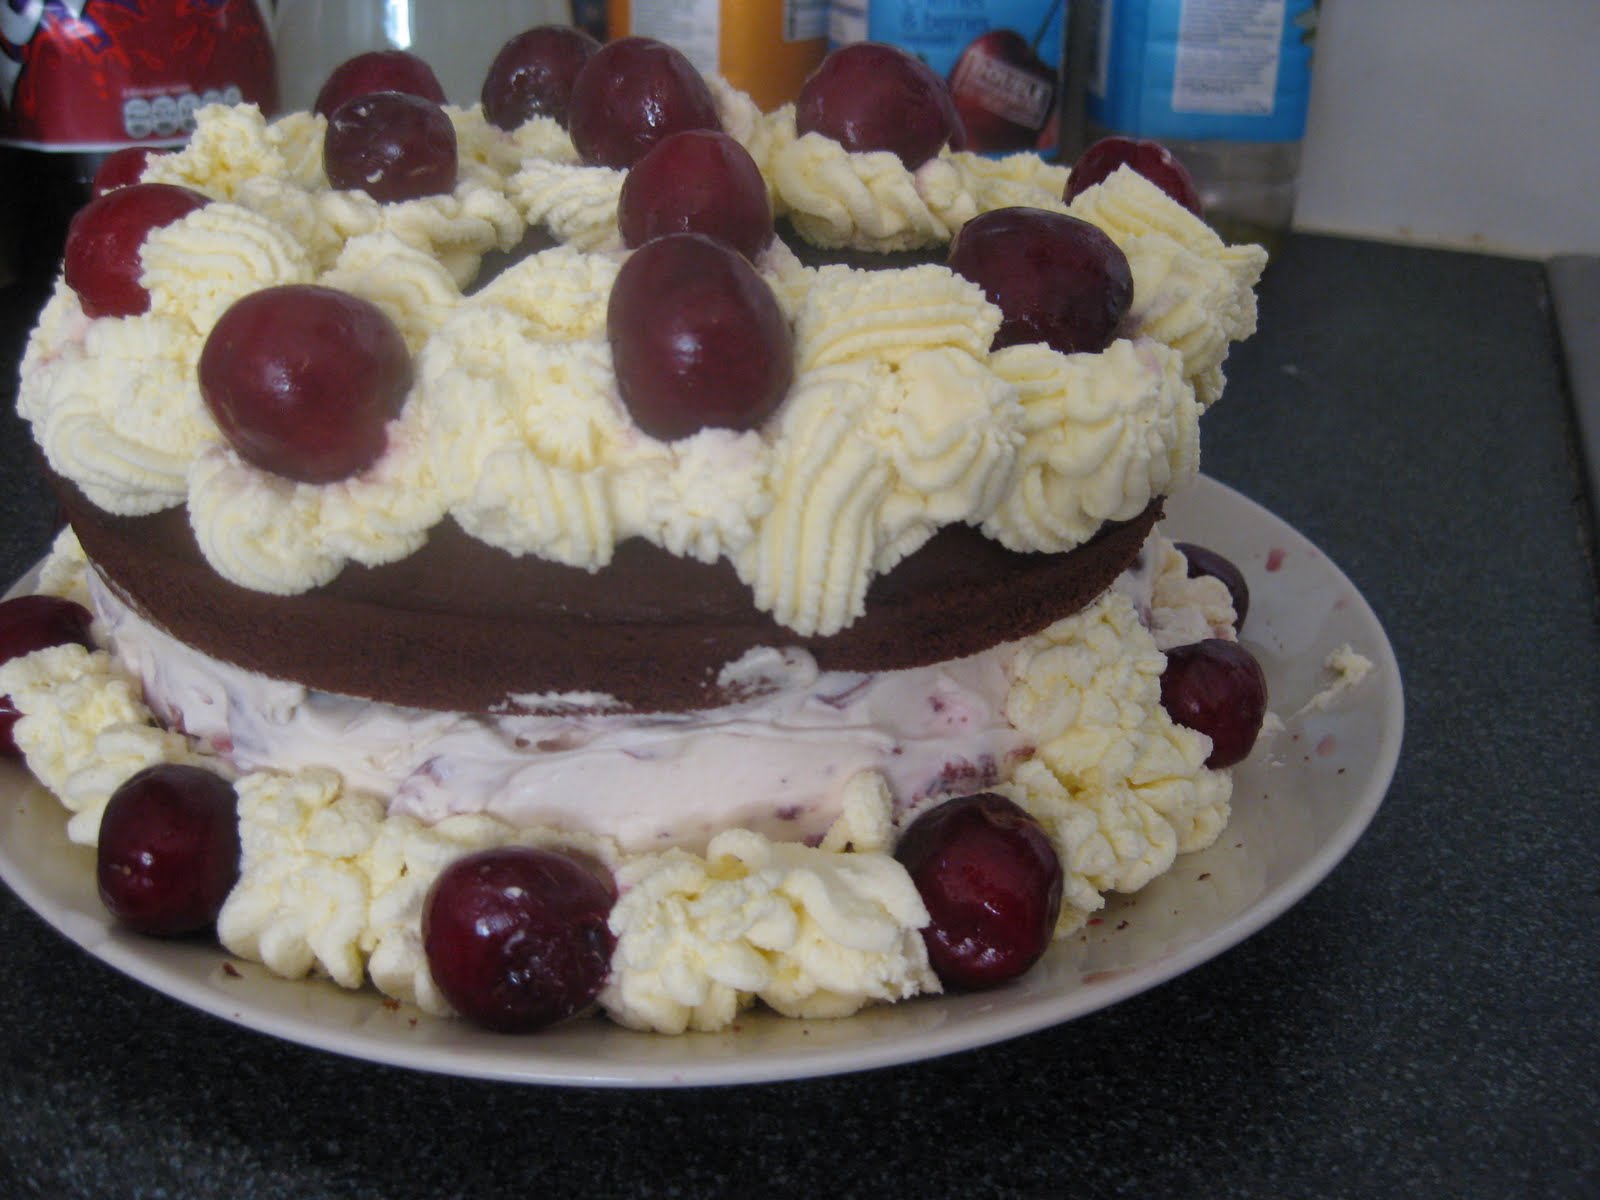
Original Recipe: http://www.waitrose.com/home/recipes/recipe_directory/b/black_forest_gateau.html
Tweaked Recipe: (Please note I am listing the icing sugar but I did forget to put it in)
Cake Ing.
175g butter
175g caster sugar
6 eggs, seperated
125g self raising flour
75g cocoa powder
1 tsp coffee
Decoration Ing.
50g caster sugar
2 tbsp Kirsch (I used a really nice cherry liqueur that I picked up for £5.99 at Lidl. I imagine cherry flavouring would also work if you're struggling)
350ml double cream (Better to go over than under. I used at least 600ml. Also, if you don't have an electric whisk, you may want to get one extra thick and one normal)
1 tbsp icing sugar (clearly not necessary since I forgot it!)
600g cherries (To make it cheaper, only 400g need to be fresh. The other 200g can come from a jar/ tin of morello cherries. Of course, you can have less than this as you don't have to put any around the bottom if you don't want)
2 tbsp black cherry jam (I used plain cherry. Depends on how strong you want the flavouring and what you can find.)
25g dark chocolate
Method
The Cake:
1. Pre-heat oven to 180 degrees.
2. Line 2 sandwich cake tins.
3. Cream butter and sugar until nice and fluffy, then beat in the egg yolks one at a time.
4. Sieve the flour, cocoa powder and coffee into a seperate bowl.
5. Whisk the egg whites quite a bit, they should start to look a little frothy. Then you want to get your first mixture and carefully fold the other two into it in alternating spoonfulls. Start with some flour and try to end on a little of the egg whites as that mixes in more smoothly.
6. Pour into your tins. Bake for about twenty minutes. Check them after fifteen though and keep a close eye on them as ovens vary, especially crappy student ones. If the cake top is starting to burn but your middle isn't cooked through, cover them over with foil. A friend told me about it and it's a useful trick to know.
The Decorations:
1. Time to start preparing the decorations. Chop up the 200g of cherries that aren't fresh and then set those aside for a moment while you whisk your cream. If you have a hand whisk like me, you'll want to mix the thick and normal cream together in stages. You want all the thick in there and then like 100ml of your normal cream to start with.Whisk. Then add another 100ml and whisk again and then the last 100ml. If you're all fancy you and your electric whisk should be able to handle this part on your own ;)
2. Add the icing sugar to your cream! Or just forget like I did. That works too.
3. Split your cream into two halves. You want slightly more in one half and to this you're going to add the chopped cherries. Just mix them in and then put that on one side.
4. Pit the fresh cherries. If you haven't done this before, get yourself a paperclip or a small knife. Take the stalk off the cherry and insert your implement and dig the pit out. Try to be neat about it but don't worry if you make quite a big whole as that part will be against the cake, or you can fill it with cream like my friend Jess did with one!
5. Spread your jam on top of the bottom layer of the cake.
The Syrup:
1. Don't make the same mistake as me! Wait until your cake is out of the oven and cooling before you start this stage or your syrup will caramalise which is still usable but not quite as good. First you want to heat up your 50g caster sugar with 2 tbsp water. Not for too long. Just until it's starting to look quite syrupy.
2. Take the pan off the heat and add in your cherry liqueur. Let it cool a tiny bit and then drizzle a small spoonfull over the top layer of your cake. If it stays sticky after ten to twenty secs, you're good and you can go ahead and spread the rest over the jam on the bottom layer of cake. If it solidifies, you've caramelised it but no worries. This just means you'll want to drizzle it over the bottom layer instead of spreading. It will be a little crunchy but it will still taste real good and you just want to make sure that you end up with lines or swirls of it instead of a big solid lump. That way your cake won't be impossible to cut.
The Finishing Touches:
1.
Go find the cream that has cherries in it! You want to put this over that layer of syrup and use it to sandwich the two cakes together.
2. If you have a piping set, fill it up with cream and decorate the top however you like. If not, do the same but use a knife or spoon. Add the pitted cherries in, grate the dark chocolate over the top and voila! Your cake is done.
The Evaluation
4/5 stars: Taste.
3/5 stars: Ease of recipe. Not one to try if you've never made a cake before but it's easy enough.
5/5 stars: Presentation. It looks pretty awesome.
3/5 stars: Time to make. This is pretty lengthy. Prep is about an hour and then there's baking time and decorating too. Best to make it a day in advance if you need it for an event.
5/5 stars: Overall success.
_______________________
Well hello there readers! So this recipe is a great one. You guys should try making it and if you do, post your photos and feedback here! It's a really tasty dessert and great if you have a few friends around. Many thanks to Jess for the help decorating! We might have had a bit too much fun there lol. I'll leave you with a few more photos. Oh and I forgot to add the chocolate on top before we helped ourselves to a few pieces. I know. I'm just a cooking disaster waiting to happen with all my substituting and forgetting!